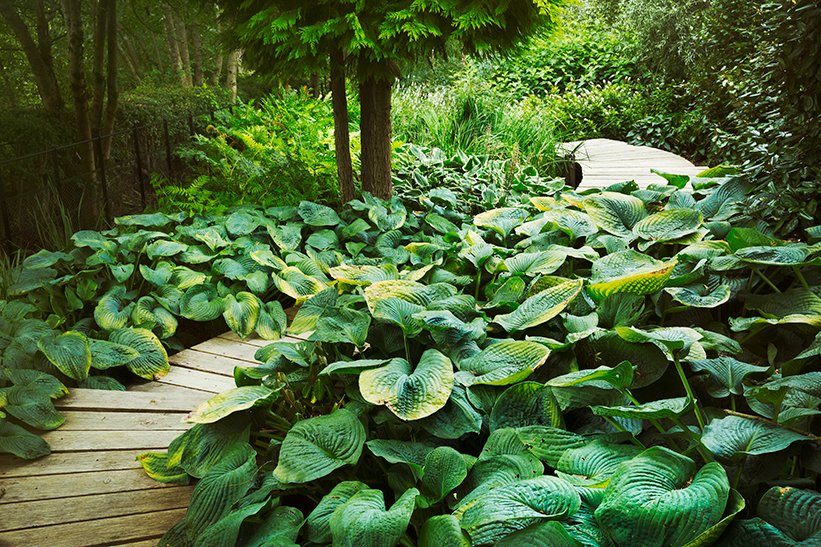
Hosta is a genus of rhizomatous, sometimes stoloniferous, perennial plants that thrives in areas with mild winters. These beautiful plants have a evergreen character and are known for the ornamental value of their foliage and for its tolerance of shady garden exposures. When talking about hosta cultivation, it is important to consider these characteristics.
Some species and cultivars are larger in size, others are more compact but in general we hardly raise ourselves more than 50-60 cm above the ground. Let’s say that they are really comfortable to use as a sort of ground coverto create beautiful ones colorful spotseven using them in miscellany.
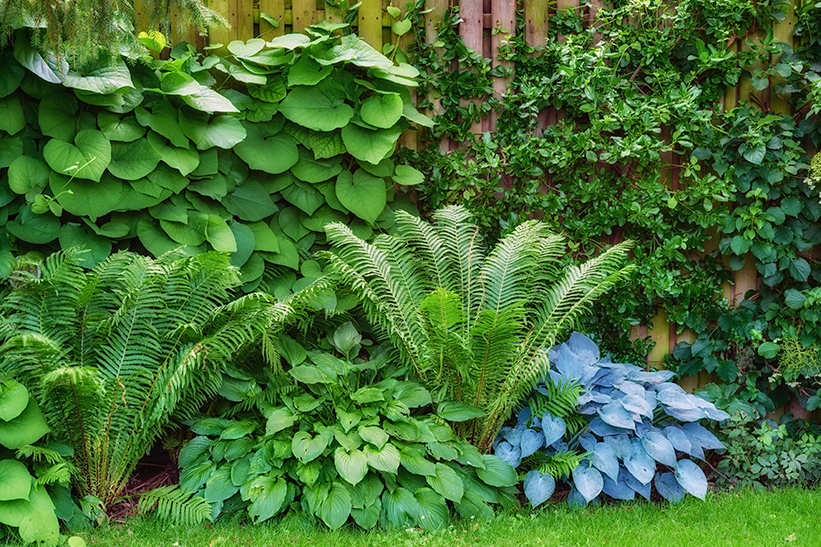
The cultivars available touch all shades of green, as well as dark blue and acid yellow, sometimes variegated or with cream or golden shades, rippled, smooth or typically ribbed. Many also produce small mauve or white trumpet-shaped flowers in summer.
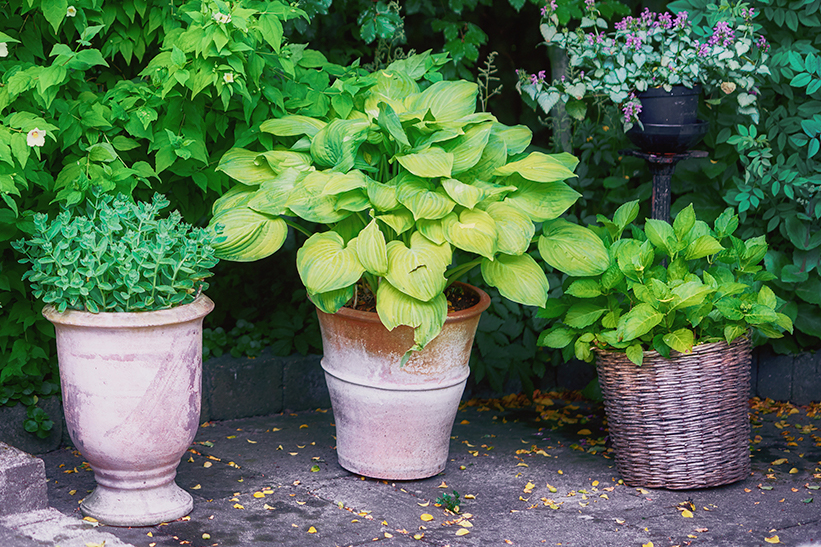
They are also excellent plants to use in pots, planters and balcony boxes and I find them fun due to the ease of cultivation and propagation, it is a plant that has made everyone fall in love.
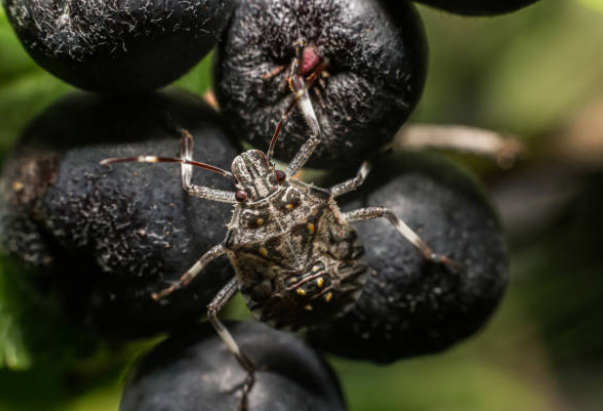
Hostas are not only loved by gardeners but also by snails and slugs which5 are the main enemies to keep at bay.
Hosta cultivation: the strengths of these plants
Hosta plants have many strengths, not only are they super easy to growbut also incredibly resistant. They won’t disappoint you, I guarantee it.
Their foliage is really very beautiful but in addition to aesthetics they are also real fighters, in fact Hostas can live for years and years.
They also do well in shaded areas, so if you have those dark corners in your garden that you don’t know how to fill, Hostas are the answer.
And if you like the idea of having more Hostas in your garden, you can divide them in spring or autumn and voilà, you will have new seedlings ready to bloom.
In short, Hostas are a true jewel of gardening. They are resistant, beautiful and take care of themselves. What more can you ask for?
When to plant Hosta?
Hostas can be planted throughout the yearhowever, it is advisable to avoid mid-summer as temperatures are high and the soil tends to dry out due to sometimes prolonged dry periods.
Hosta cultivation: where to plant it
Each variety of Hosta will be at home in a moist soil and in partial shadeboth on the ground and in pots. However, yellow-leaved cultivars prefer sunny exposure but there are also other Hostas that tolerate this type of lighting well, but they are very few.
Hostas thrive in fertile soils, even if clayeyenriched with garden compost or mature manure. If the soil is drier, Hostas with robust, waxy leaves are preferable as they tolerate these conditions better. Unfortunately, Hostas are not comfortable in dry soil or windy, sunny areas of the garden.
How to Plant Hosta Plants?
There is no single answer to this question, in fact everything depends on where you decide to plant the Hosta plants 😉
Planting Hosta in the border
Preparing borders with Hostas is a simple and quick operation. Although the planting method is similar to other herbaceous perennials, there are some additional tips I would like to give you:
- Planting distance: space the plants up to 90 cm apart from each other, considering both the height and the expansion (taking into account that each variety has different developments, so it will be necessary to inform yourself based on the Hosta chosen).
- Soil preparation: Dig a hole the same depth as the root ball and twice as wide. Gently loosen the roots (also using your fingers) before placing the plant in the hole, then fill with soil and compact lightly.
- Watering: after placing the Hosta in the ground, water abundantly to stabilize the soil and continue to water it regularly, especially during the first summer if the climate is dry.
- Mulch: Apply a layer of well-rotted organic matter, such as garden compost or mature manure, to retain moisture. Personally, I prefer to use coniferous bark. Mulch not only helps control weeds, but also protects plants from summer drying and winter cold.
Planting Hosta in pots
To transplant Hostas into pots (here is our entire selection regarding pots and furniture), it is possible to opt for generously sized vaseswith a diameter between 30 and 45 cm. It is very important to ensure that the container has drainage holes to allow excess water to not get trapped in the root ball.
For the soil, I recommend a specific substrate for potted plantsperhaps enriched with pumice stone (such as the ONE Plus mixture) to aid drainage. When the Hosta is finally planted in its pot, be sure to place the top of the root ball at the same level as the edge of the previous container. After transplanting, water thoroughly and continue to keep the soil consistently moist, especially during periods when the plant is active.
Care and cultivation of Hosta plants
How much to water the Hosta?
In the case of hostas grown in the garden, this may be necessary water them during periods of drought. It is important to keep the soil at least slightly moist to a depth of about 15cm.
For Hostas grown in pots, it is essential to carry out regular wateringespecially during the summer months, as the substrate tends to dry out quickly. It’s easy to notice when plants need water as the leaves show signs of dryness, turning golden along the edges.
How to fertilize Hosta?
During the periods of active growth of the Hosta, which run from spring to autumn, it is advisable to feed the plant with mineral fertilizers.
For borders, I usually use a slow release fertilizer for green plants, even for flowering plants it is fine if we have cultivars where the blooms have a certain value.
In pots, a liquid fertilizer for green plants or a balanced water-soluble fertilizer is fine, in particular I recommend the excellent Asso di Fiori.
The combined use of biostimulants and fertilizers is perfect for maximizing results.
Towards the end of autumn, it is possible to integrate organic fertilizations using compost or manure.
Trimming Hosta plants
The flower stalks can remain on the Hosta plant until late autumn, when the leaves begin to die naturally, they can be removed during the final cleaning. Otherwise, if you want to prevent plants from investing energy in producing seeds, you can remove newly faded flowers once they have completed their flowering cycle.
Overwinter Hosta plants
Hostas are notoriously hardy, however, by late fall, the leaves naturally die off and the plants go into one state of vegetative rest until the middle of the following spring. The new leaves that emerge in spring are delicate and can be damaged by late frosts, it is therefore advisable to protect them with 2 or 3 layers of non-woven fabric (TNT) in case of sudden frosts.
An important tip is that Potted Hostas are sensitive to waterlogging. To avoid this, protect containers from winter rain by placing them under gutters, near walls or in places sheltered from heavy rainfall.
Hosta cultivation: how to prune it
Hostas do not require frequent pruning, but it is useful to remove damaged or unaesthetic leaves. It is advisable cut away dead foliage naturally during the fall and remove the old flower stems, thus preparing them for winter.
Over time, Hostas form large groups and can benefit from division every 4-5 years. Division can be done in the same way as propagation.
Propagate the Hosta by dividing the tufts

It is simple to multiply Hostas by dividing large clumps both in autumn and early spring.
- Gently lift the head from the ground, being careful not to damage the main shoots.
- Place the head on a stable surface such as a table.
- Use a sharp spade or kitchen knife to divide the head by cutting between the shoots. Make sure each piece has at least 1 to 3 healthy buds and cut away any damaged roots.
- Place the obtained parts back into the soil, at the same original depth, with the shoots emerging just above the soil surface.
- After transplanting, water the plants abundantly and apply fertilizer the following spring following the doses recommended on the package.
The plants obtained from these divisions will be identical to the mother plant and should begin to flower from the second year.
Growing Hosta from seed
You can try grow Hostas from seeds collected in autumn once the flowers have faded and dried. To do this it will be necessary to sow the seeds in spring in pots containing compost and sand. Next, transplant the young seedlings into individual pots, letting them grow. It is important to note that plants grown from seeds may not retain the genetic characteristics of the parent plant. Furthermore, plants from seeds of variegated varieties will tend to lose their variegation.
Hosta cultivation: possible problems
Other than leaf damage caused by slugs and snails, Hostas usually pose no problems when grown in fertile, moist soil, preferably with some shade. However, they do not do well in warm, sunny locations on dry soil, where they are common to observe burnt and brown leaves. In these cases, transplanting to a shadier area is the best long-term solution.
Luckily, Diseases are not a big concern for these plants. It is important, however, protect the leaves from slugs and snailswhich can cause significant damage. An alternative option is to focus on varieties with thicker foliage, which are usually less attractive to slugs and snails.
To fight snails and slugs I recommend these products:
Latest Posts Published
care and maintenance » Le Georgiche Nurseries

care and maintenance » Le Georgiche Nurseries

Here’s what work needs to be done

June 1st – Children’s Day: history, meaning and special gifts
How to decorate for Easter?
10 simple ways to «tidy up» your home

Mountain Banana (Asimina triloba): how to grow it and enjoy its rare fruits

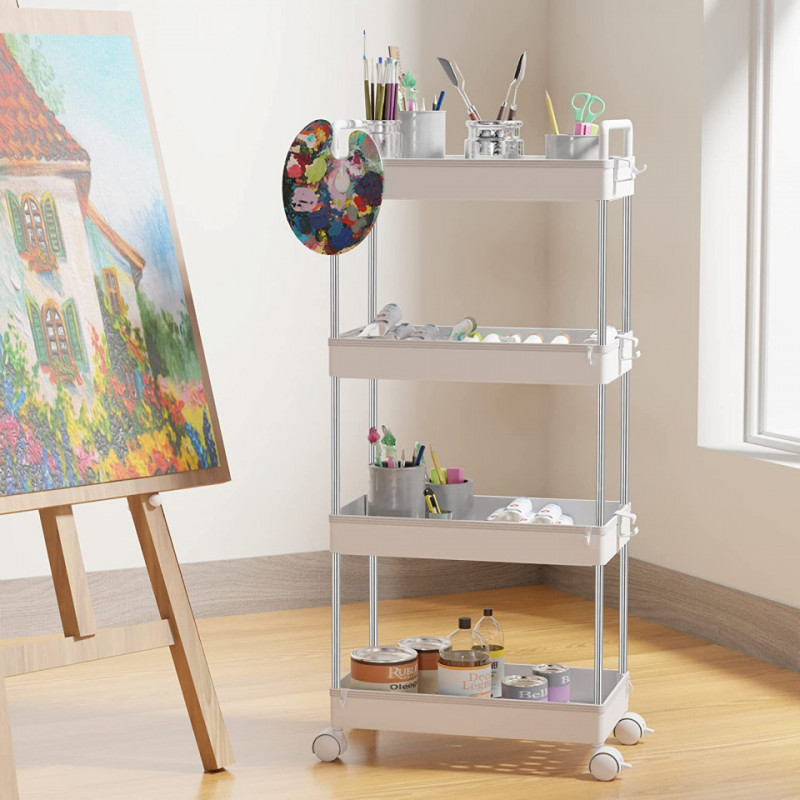
Innovative storage and organization solutions for a more airy space

Find inspiration to decorate with wallpaper and stickers in your own personal style.